I really enjoy trying to turn other people’s ideas into fabric and when I get the response I’ve used as the title for this piece it just makes my heart sing.
My most recent commissioned piece involved creating a large shawl that incorporated “long slim pleated stripes” in vibrant colours, mixed with flat areas of solid colour “scattered in a loose style”. My client’s inspiration came from the colours of Gustav Klimt and the textures of Mariano Fortuny’s pleated gowns, as well as a delicately coloured Japanese kimono:


,
I have never met my client, who lives in Germany, but we have worked together before on a throw for Fledi. We correspond via email and she sends me lots of images along with wonderfully evocative words to help me understand her ideas, such as these: “the whole pallet of pink and gold. a symphony of glowing and blaze! so much that all dark thoughts pop off.”
We have developed a way of working together while so far apart in both distance and language. As my German is non-existent (the only phrase I have is “eine kleine weisse bier bitte”!) we communicate in English and through the medium of images. I choose yarns and send these to my client so she can pick her colours and textures, then I work on samples and send those. My client sends me brilliant feedback. The words are often few but chosen so well that the detail of her imagination is clear. I tweak the samples and send photographs and scans until we reach a finished idea. Then it’s down to the really hard work of weaving the full piece. These are large pieces, woven in sections and eventually sewn together to create the final outcome.
Working on commissions is quite a daunting task. I’ve worked with a number of clients over the years but have met very few of them. Somehow, between us, we seem to create successful projects. I try to ask lots of questions very early on and I’m willing to sample initial ideas to gain immediate feedback so I don’t spend too long going off in the wrong direction. They offer useful input in the form of images, swatches, colour chips and words. Although these challenges push me out of my comfort zone I love these interactions because they stretch my abilities, both creatively and technically. I have to find ways to produce a fabric which even my clients themselves might not be able to imagine.
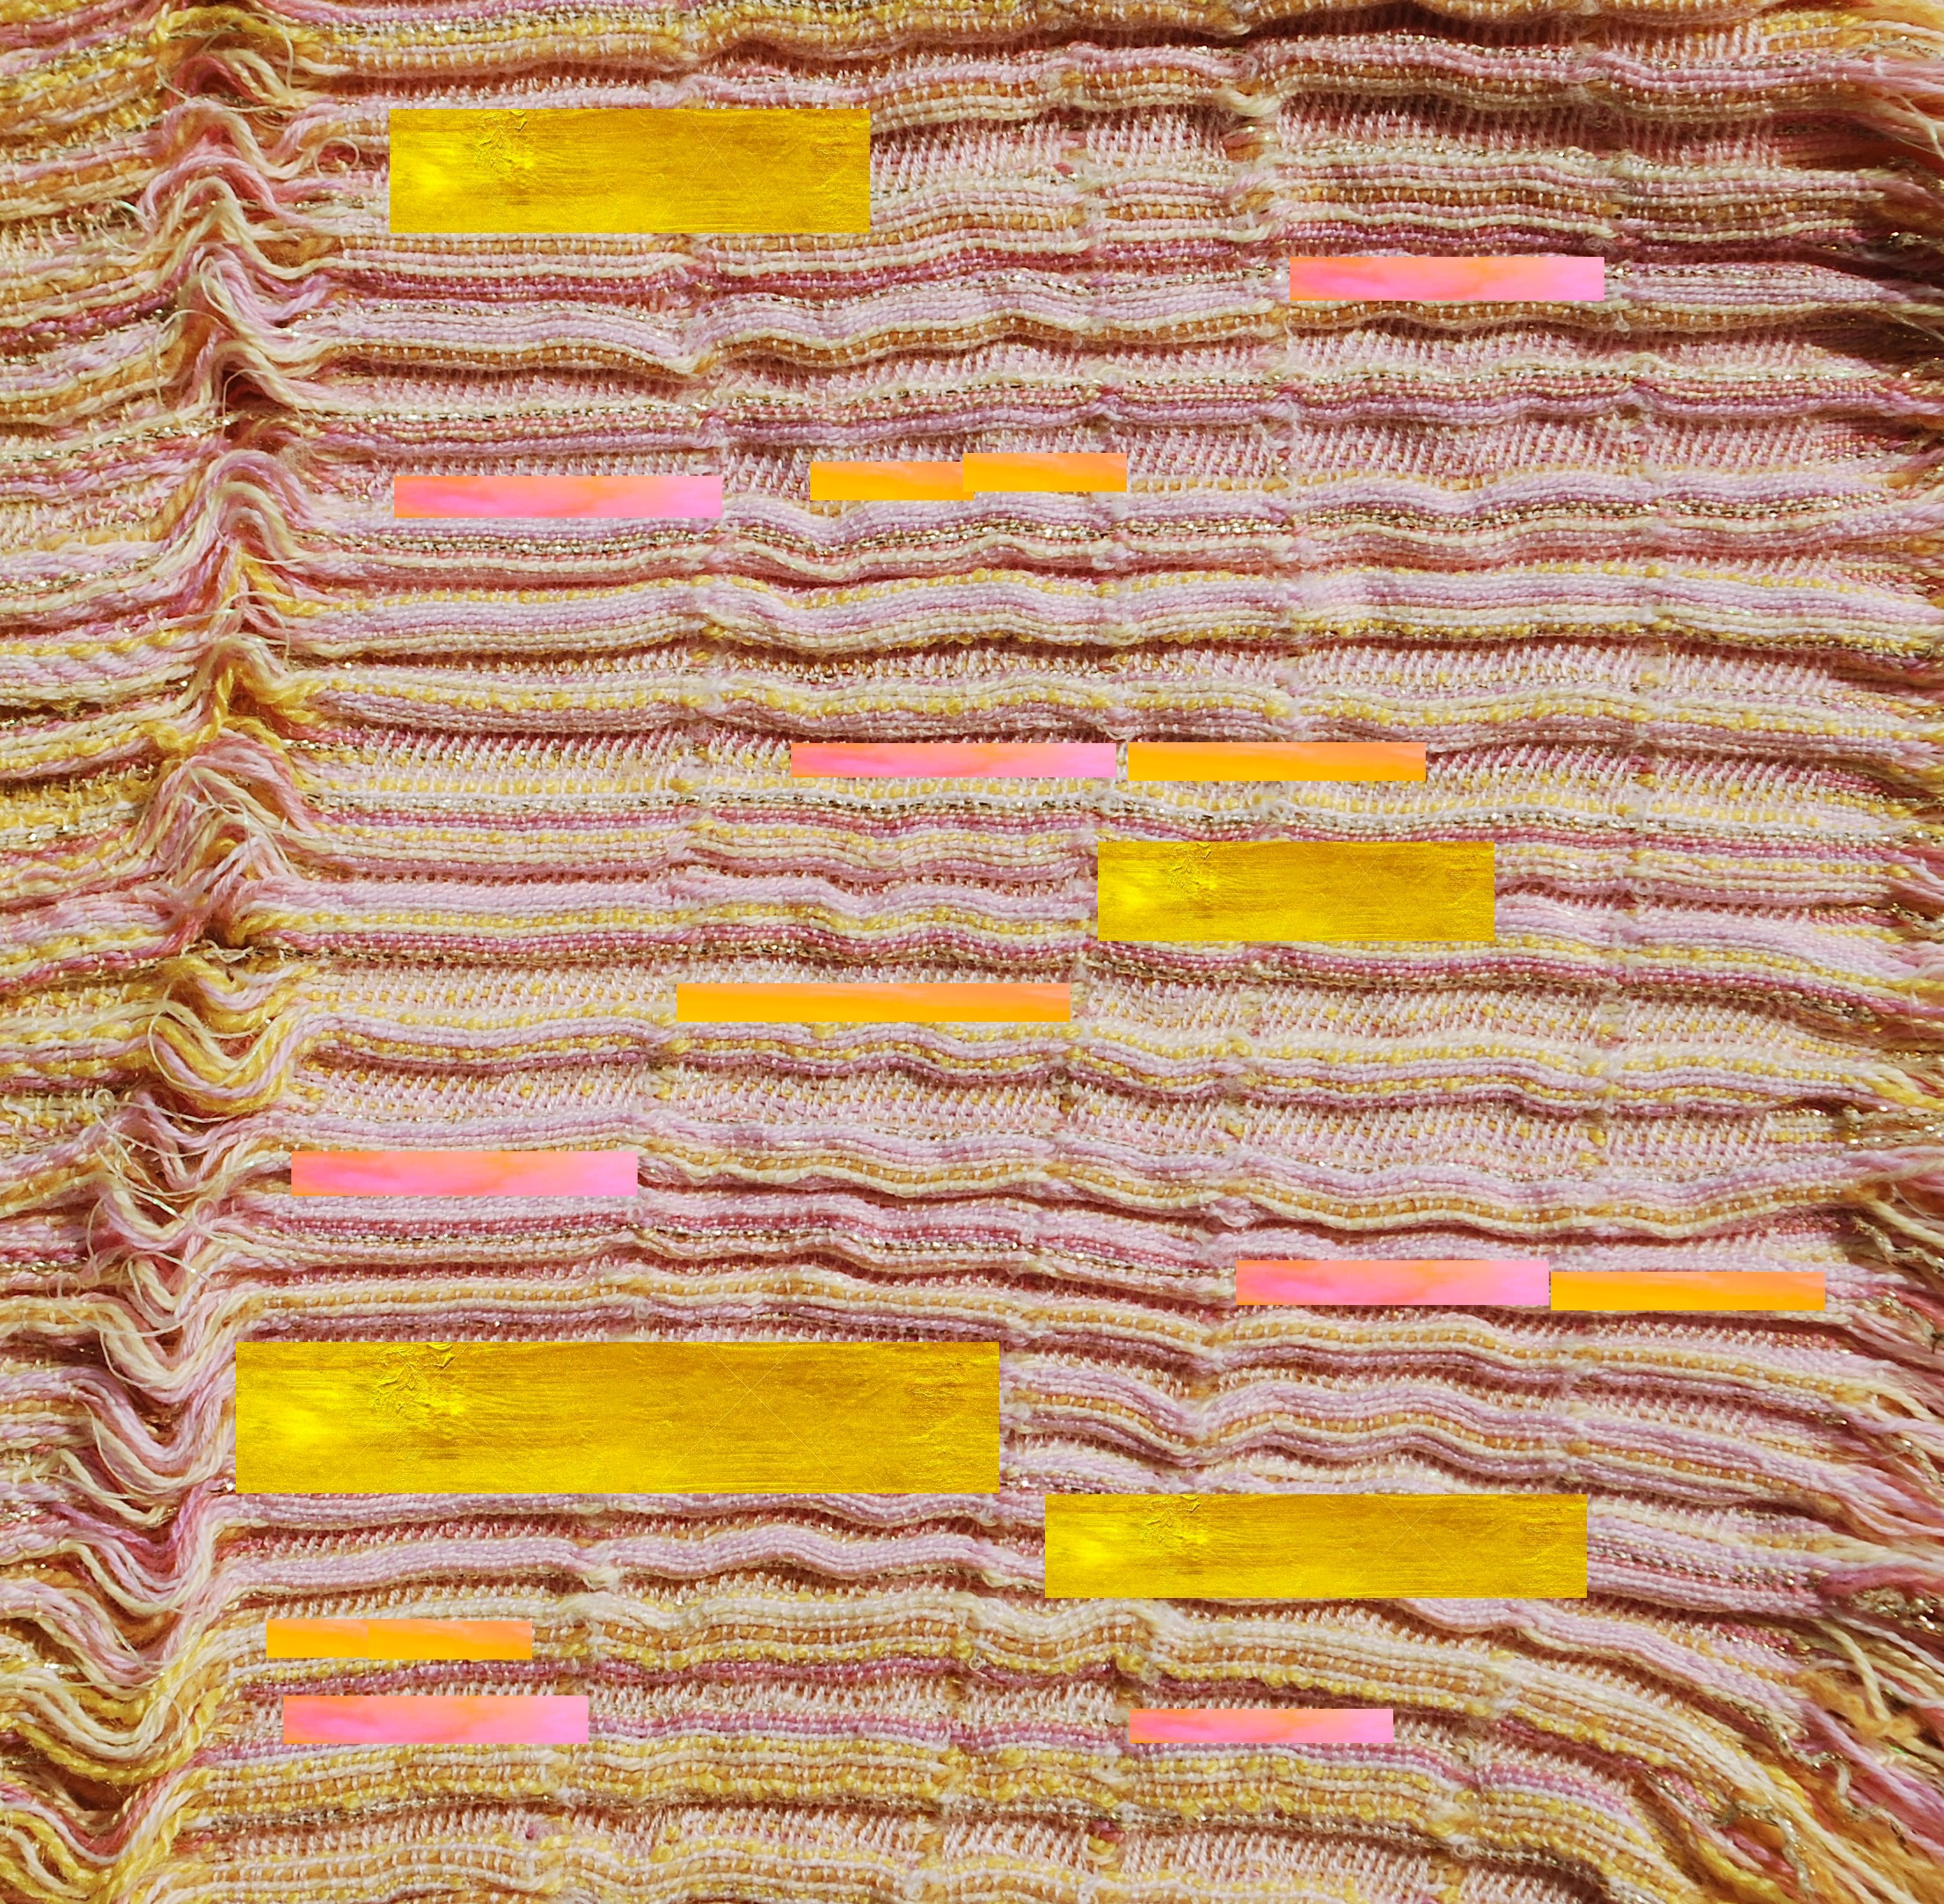
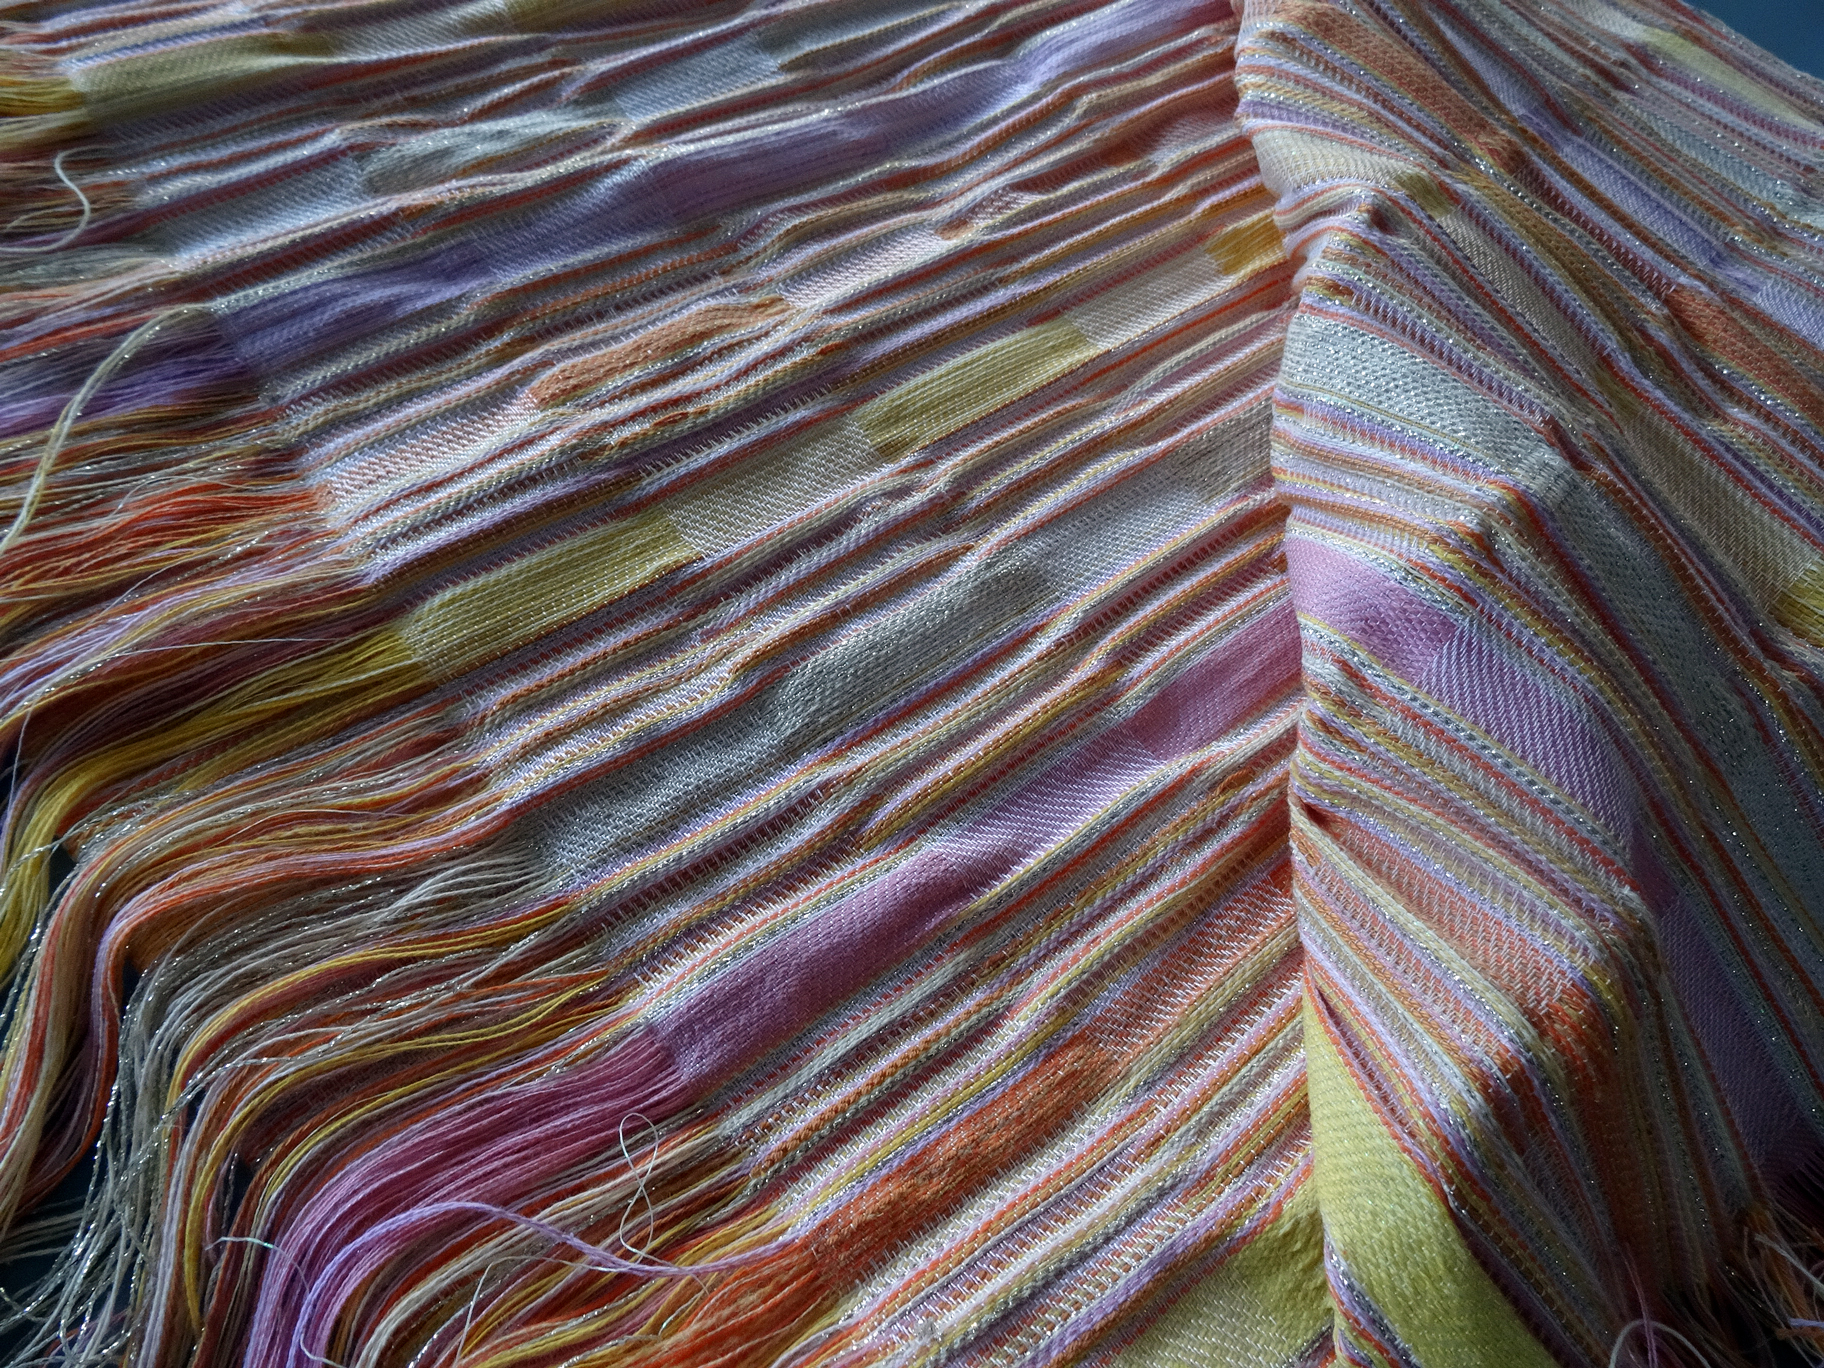
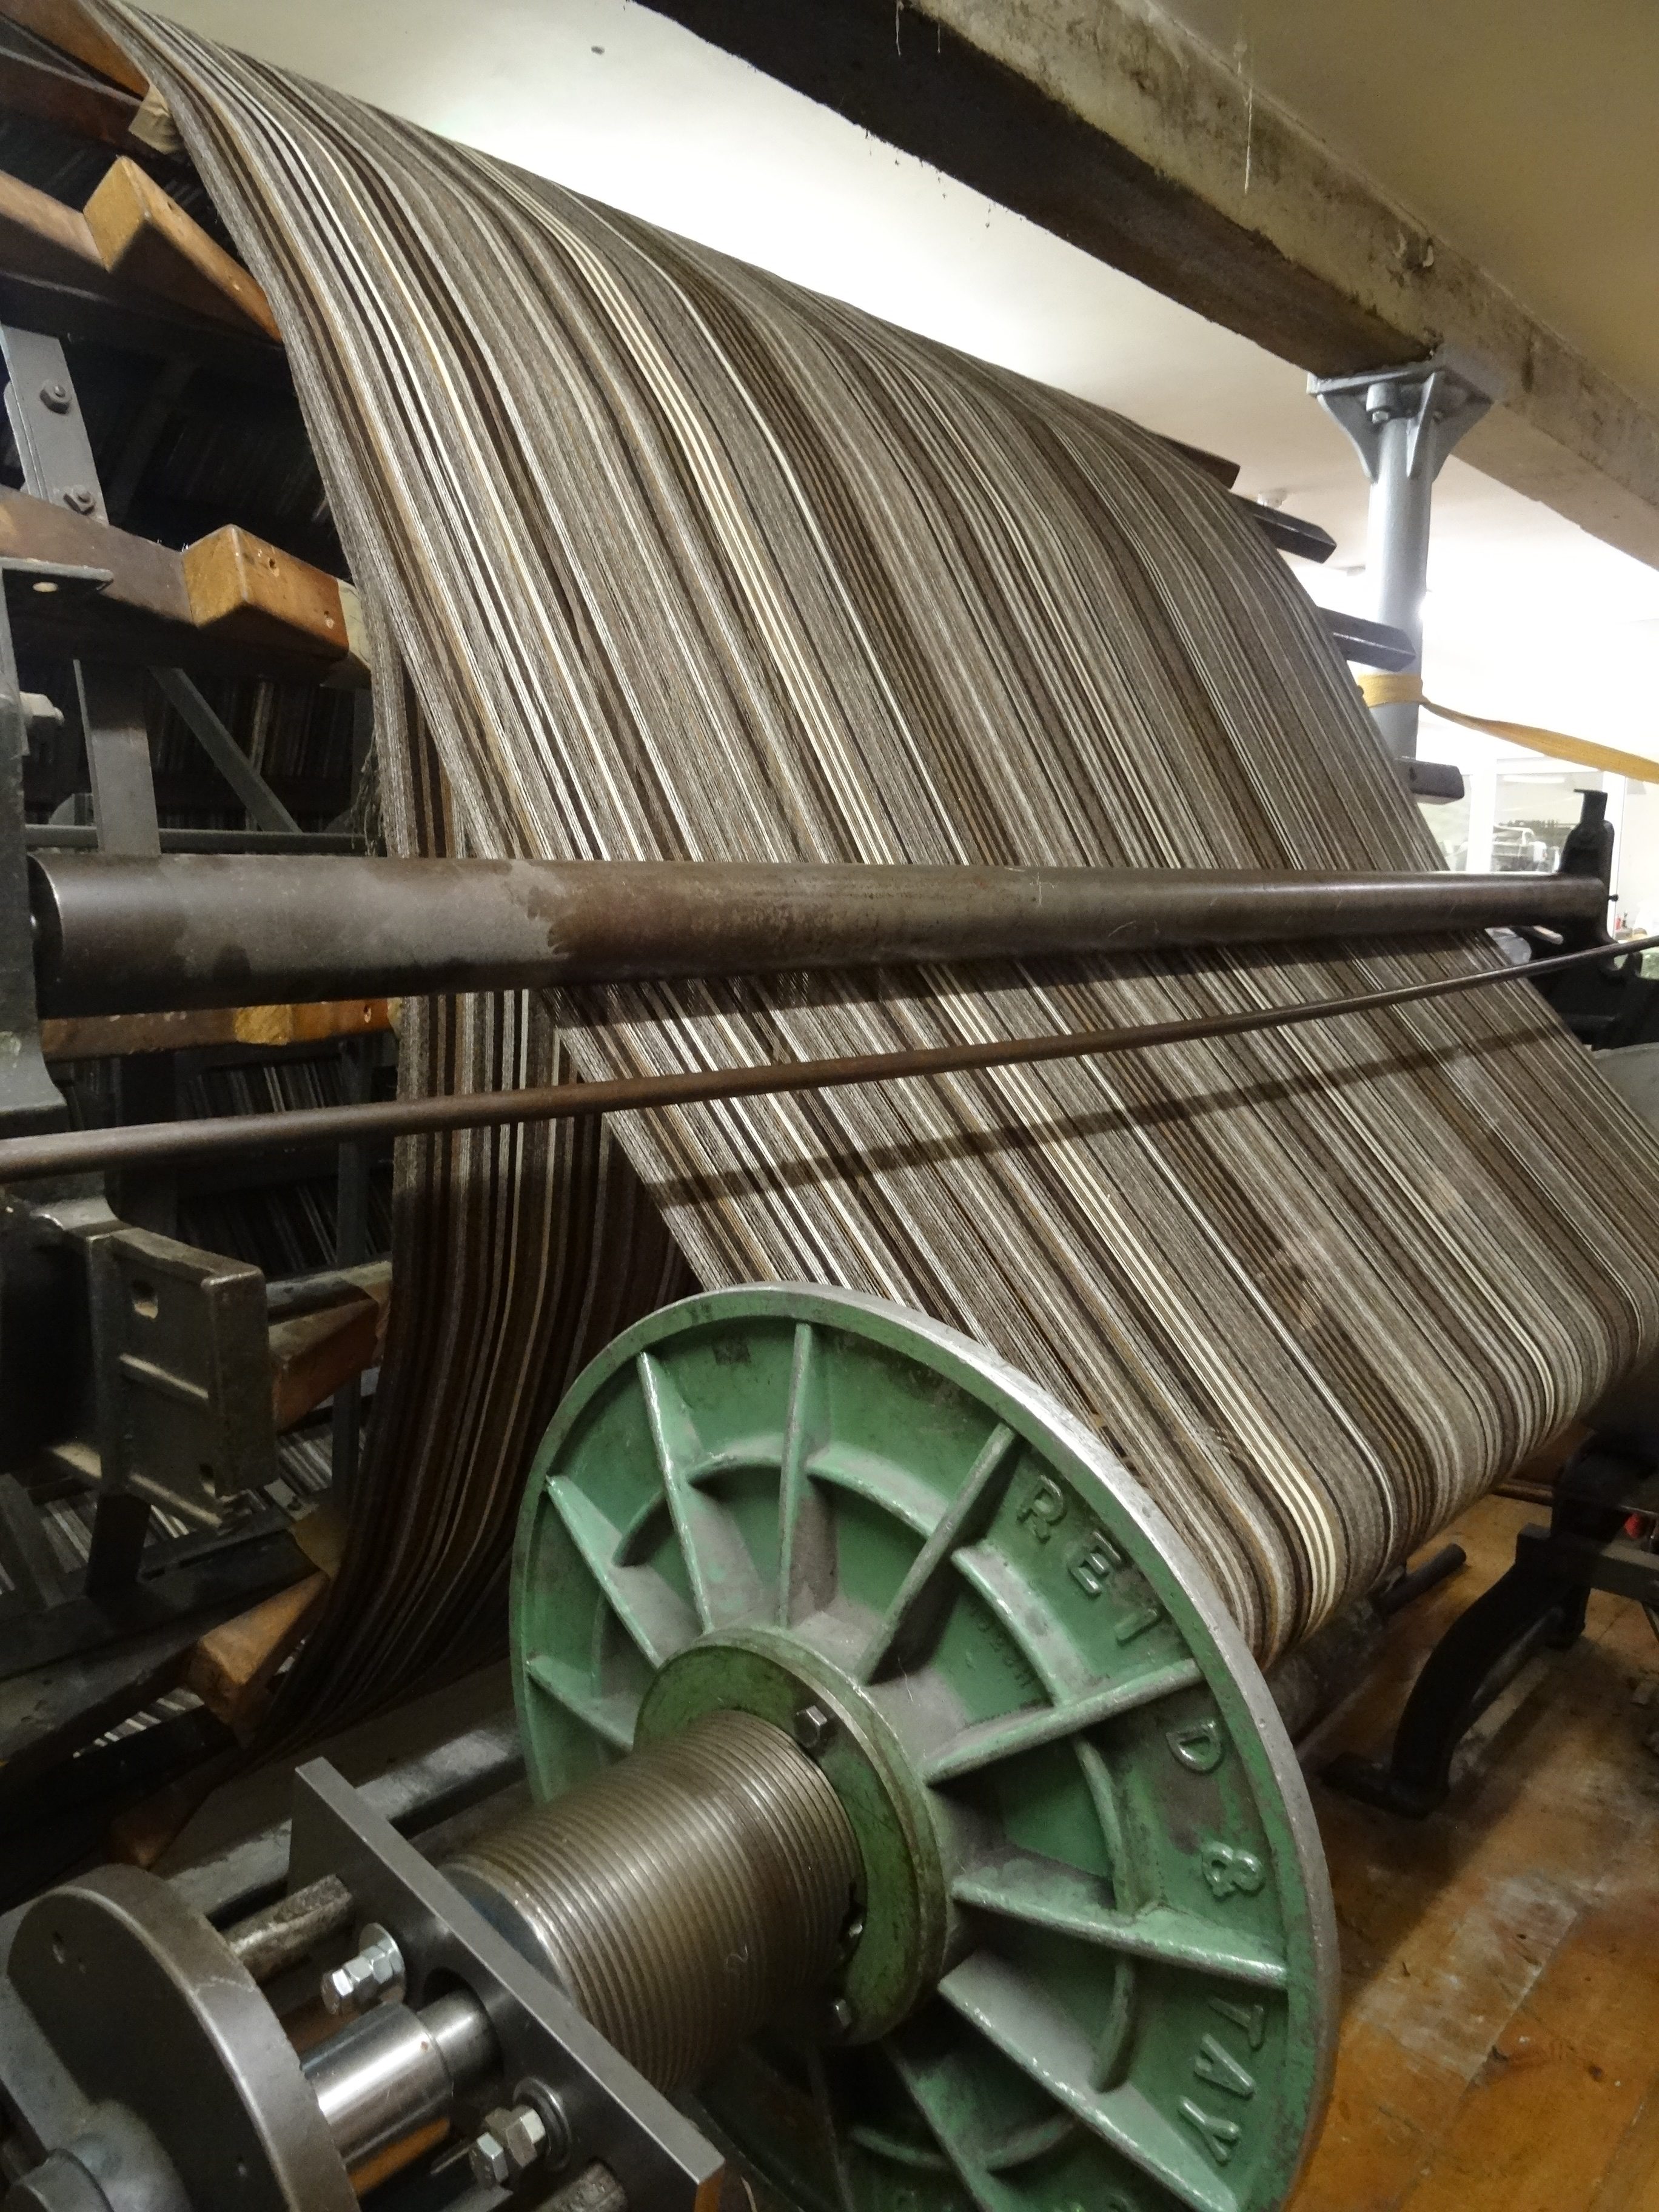
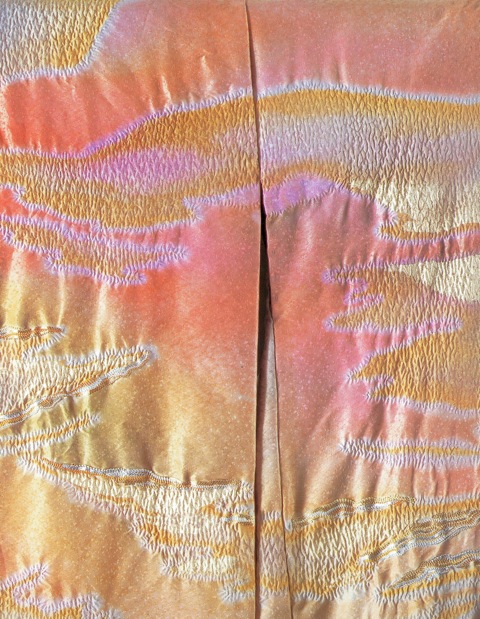
Here are a few images which show some of the developmental stages of Sabine’s pleated shawl, from second sample with feedback overlaid, to setting up on the loom, to the first section in its stiff off-loom state, and the finished piece after washing and sewing. The whole piece was eventually woven as four long panels, a total of almost 8 metres of fabric to create a finished shawl of approximately 180cm square. A very fine pink silk was used as the weft to help create pleats in a crammed and spaced warp of cotton, glitter and silk yarns.
The response: “Yesterday in the evening the holy moment of revelation. What a fire work of friendly and happy colors! It matches very true my imaginations…indeed a textile made from good vibrations”