My newest blankets are woven from a mix of hill and mountain wools, including: Lleyn, Black Welsh Mountain, Castlemilk Moorit, Shetland Moorit, Shetland silver, Shetland white, Hebridean, and Manx Loughtan wools. Some of these are listed as rare by the Rare Breeds Survival Trust.
I was very much involved in the making of these blankets and managed to record many, although not quite all, of the processes undertaken to create them.
The story starts at Farfield Mill. At this Arts and Heritage Centre on the outskirts of the Yorkshire Dales market town of Sedbergh, there is a Master Weaver named David and a young trainee weaver named Juliette. Together they spend most weekends wrestling with a warping mill more than a century old, a Dobcross loom which dates back to the 1930s and a somewhat newer Somet loom which is still significantly older than Juliette (although slightly younger than me!) My blankets were woven on the Somet.
There are many steps involved in weaving. Here, for your reading delight, is my account of each of step we took in the weaving of my Mountain Blankets.
Step 1: Splitting Cones

Cones winder in action
When yarn is wound onto cones it’s not necessarily the right length for the project. If there’s too much yarn on the cone it needs to be split down into smaller cones prior to setting the creel. This sounds like something akin to going fishing for lobster but watch the video to get an idea of what I am talking about.
There is quite a bit of maths involved prior to splitting. First, the cones need to be weighed to work out how much yarn is actually on them. Then we decide how many sections are required to wind the full width of the warp. The next step is to work out how many ends of how many different colours are needed in each section, and then figure out how long a length we need on each cone so that we won’t run out of yarn part way around the warping mill and have to tie a knot, or waste a lot of yarn.

Setting the creel
I do like a challenge, but the back breaking and mind-bending process of setting and re-setting the creel ten times, with 80 different individual cones each time, taught me a lesson as to why so many blankets are made up of geometrically repeating patterns. It’s because for those blankets you only need to set the creel ONCE! My Mountain Blanket is definitely not a repeating pattern but that makes it even more special and unique.
Step 2: Winding the warp

Preparing the lease
After setting the creel, the yarn is pulled from each cone and threaded through an eyelet. The yarn is then drawn through a short reed which allows every other thread to be lifted out of the way to create what is known as a ‘lease’. This keeps the threads in order and assists with threading the heddles on the loom at a later stage.

Winding a section
The entire set of threads is then hooked onto the warping mill and aligned so as to butt up to the previous section but not cover it, measured to ensure the section doesn’t get too wide or too narrow, and winding begins. One full turn around Farfield’s old warping mill equates to 7 yards. In no time at all we had a 77 yard warp section wound and it was back to step one.

Getting the beam in
Fast forward to three days later………and…
Beaming off
Step 3: Beaming off
Having wound the warp, it’s then time to beam it off. Manhandling the beam into place took longer than winding the warp onto the beam! But once the beam is back on the loom threading can begin in earnest.
Step 4: Threading
This was, by comparison to all that had gone before, a calm and quiet process. Once the steel heddles had been counted and moved into the right sections of the shafts, it was time to wipe oil from the hands, ask Juliette politely if she could climb into the middle of the loom (she was the only one of the three of us slim enough to fit), and begin to thread almost 1000 ends of yarn through the heddle eyes. As Juliette separated each thread in order I passed each one through a heddle. The order of threading determines part of the pattern in the cloth. David finished that process and between them Master Weaver and assistant placed a drop pin onto each thread to stop the loom automatically should a warp end break during weaving. It’s almost but not quite time to weave.

Preparing to thread

Heddles lined up for threading

Droppers in place

Pattern card punched
Step 5: Tensioning and Adjusting
The final stage before weaving was to tie on and tension the threads. This is not quite as simple as on a handloom but for those of you reading this who are weavers it is a similar process. Getting the leno and selvedge threads to behave was a bit more challenging.
Then it was time to put the weft into place, test the rapiers to make sure they were picking up the weft correctly, tension the weft, punch the cards for the pattern, insert the pattern cards, and flick the switch to commence weaving.
Making sure the weft picks were correctly spaced was the last thing to test and off we went, clickety clack, clickety clack, clickety, clickety, clickety clack.
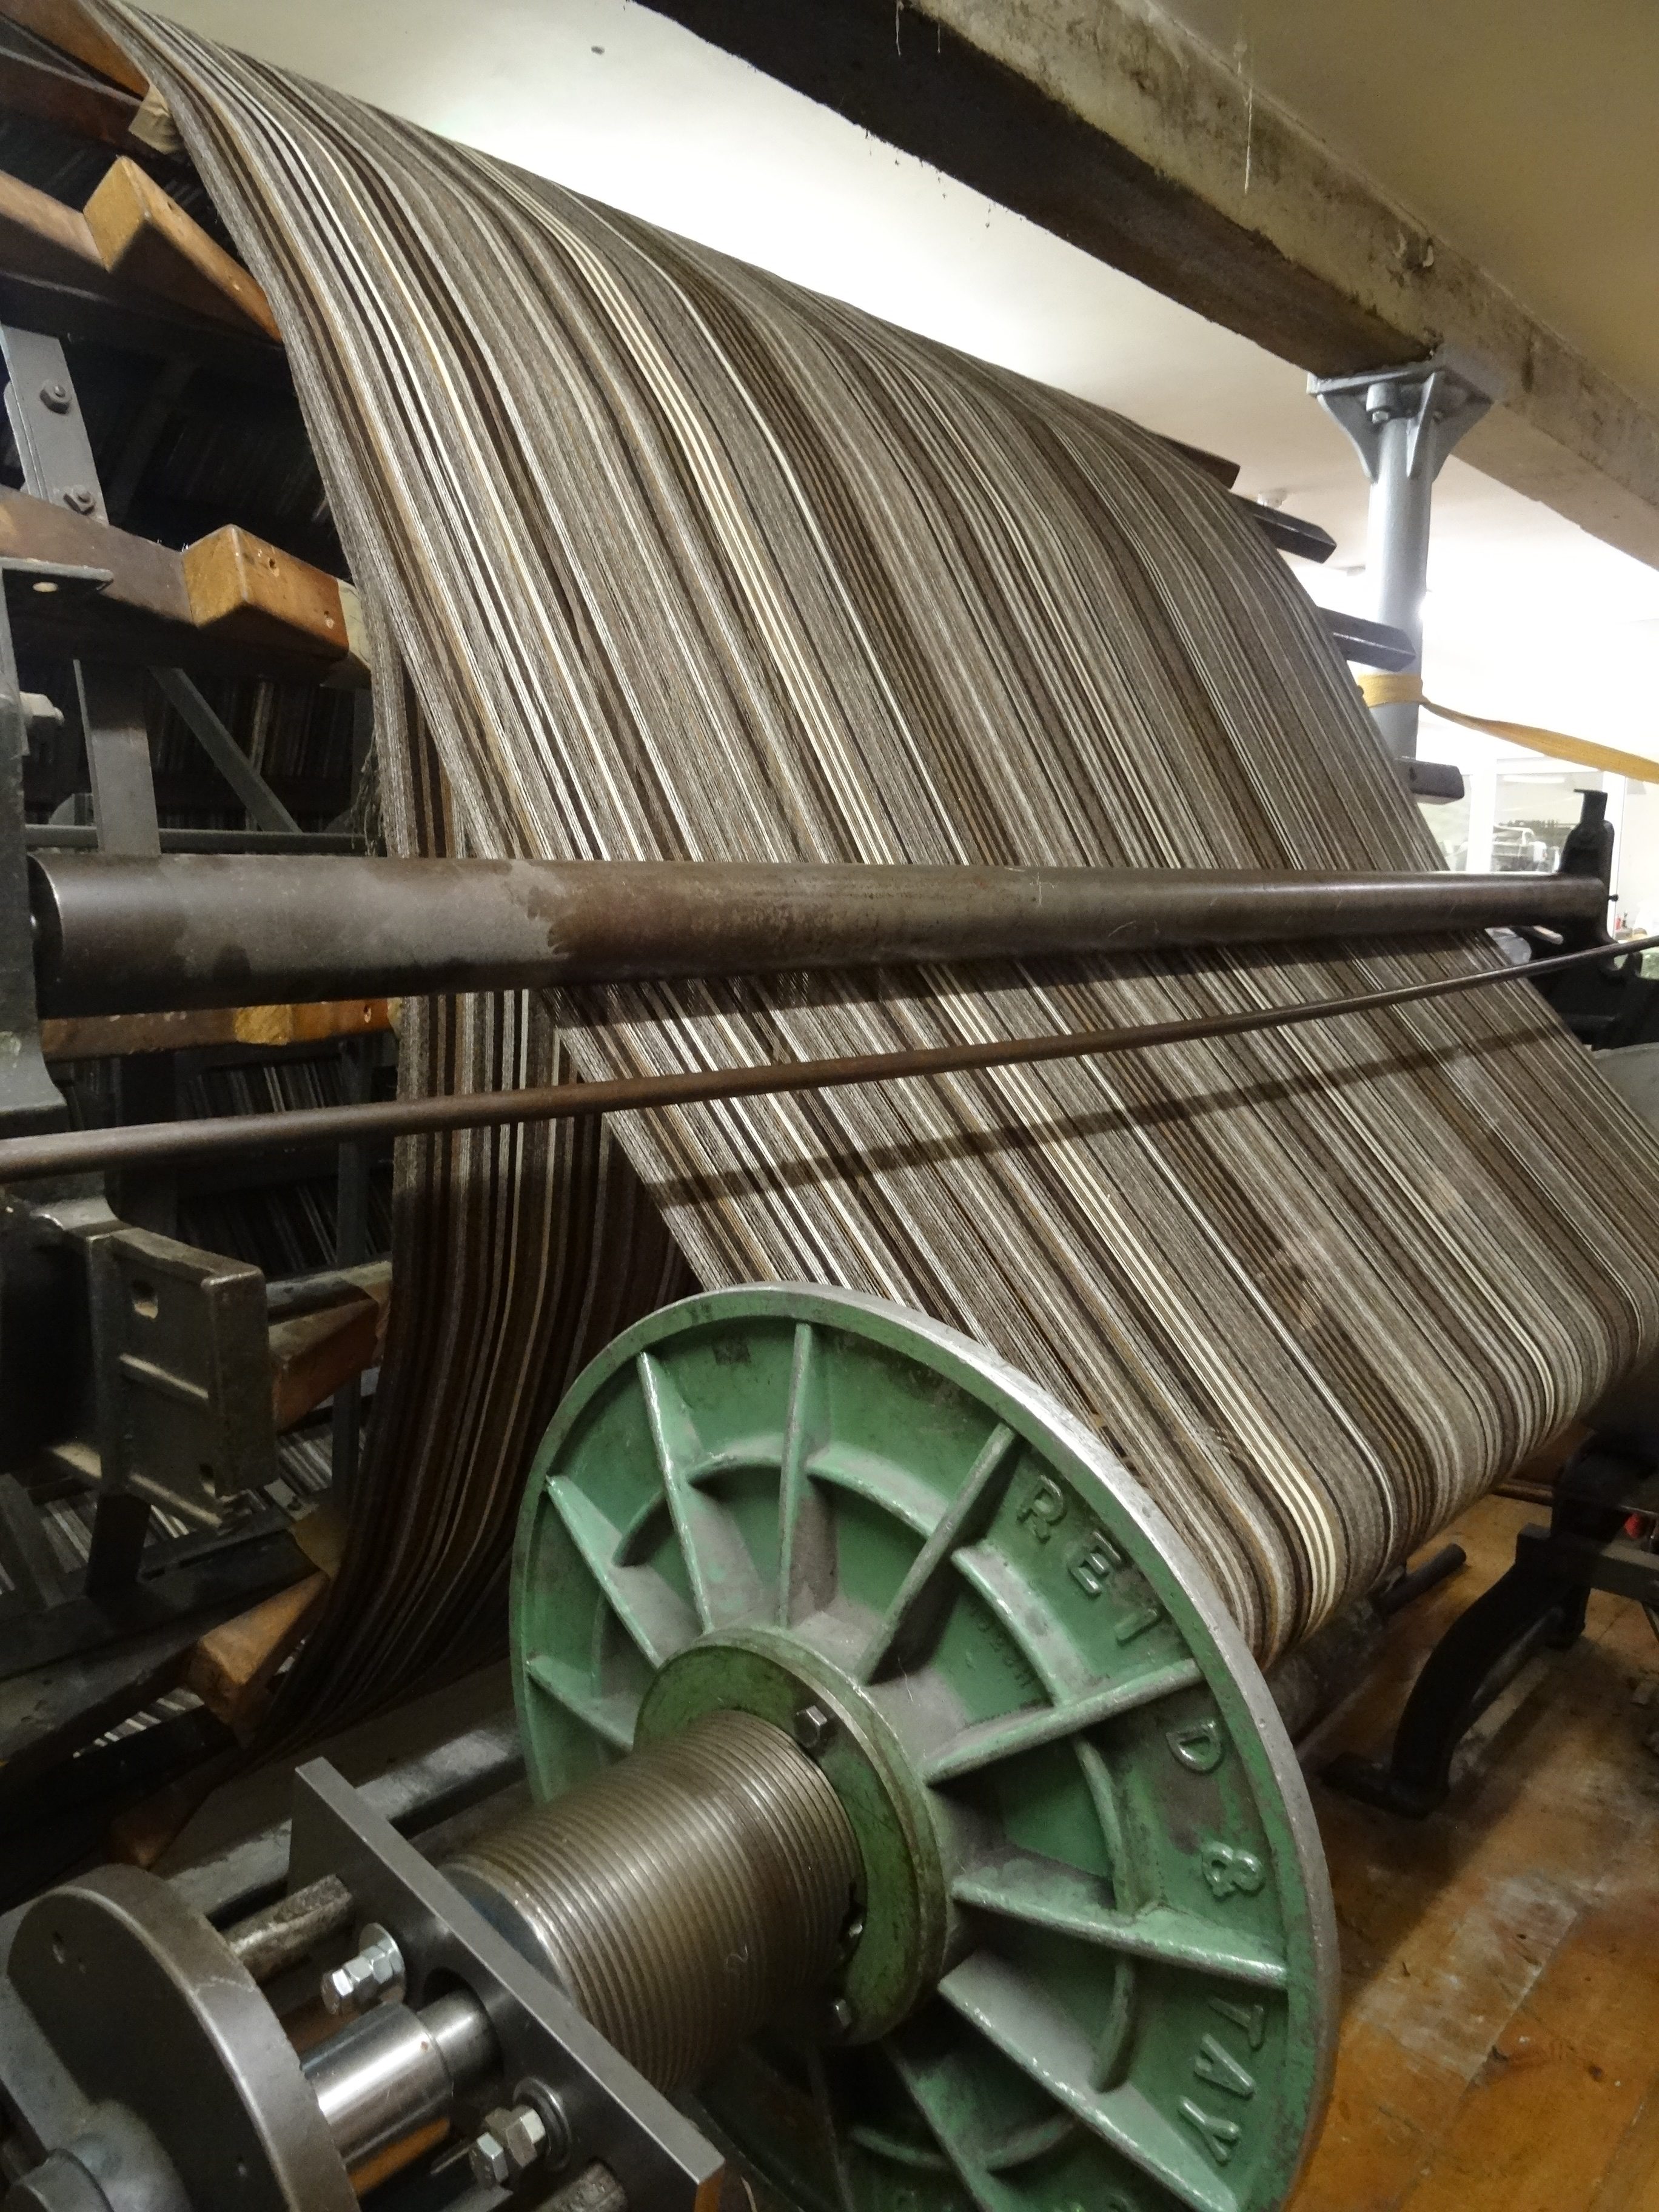
Step 6: Weaving

Mountain Blanket on the loom
It takes less than twenty minutes to weave a large blanket when things are running smoothly but a handful of pesky knots and lenos gave us a bit more downtime than we would have liked. Breakages need to be fixed as the weaving progresses or they ruin the cloth. The loom is stopped while the warp threads are unknotted and darned back into the cloth, then away we go again, constantly checking that the weft is being correctly placed. Old looms need nursing more than modern ones and when things go wrong it’s not always a straight-forward process to mend them, but David knows his stuff and Juliette is learning fast.
After two weekends of weaving my entire woven web came off the loom and I took it home to check for errors and fix them.
Finally it was time to send the whole piece up to Schofields Finishers in Galashiels. That oily web, rather stiff and rough in its raw state, came back three weeks later looking, feeling and smelling just beautiful. A study in British wool if ever there was one. I hope you will agree.